A popular way to update your home’s interior is to remove wallpaper and replace it with a fun new paint color. However, it’s important to ensure that care is taken with the steps between wallpaper removal and paint application. Today our Asheville painters are sharing some insight on that process so that you can have a professional look to your final product. (Don’t make the mistake of jumping right into painting your fresh new surface before reading this!)
Supply List
Some of the supplies needed for the post-wallpaper-removal process may already be in your workspace from the task of removing the wallpaper. Regardless, we recommend having all your supplies ready to go in the room you are working on. That way, you can stay focused and productive rather than running all around trying to get equipment mid-task. You may not end up using all these items, but we find it easier to have them all on hand just in case:
- Wet/dry vac or shop vac
- Putty knife
- Taping knives
- Joint compound or plaster filler
- Hand sander/sandpaper
- Drop cloth
- Wide painter’s tape
- Primer
- Paint
Patch/Repair Any Damaged Areas
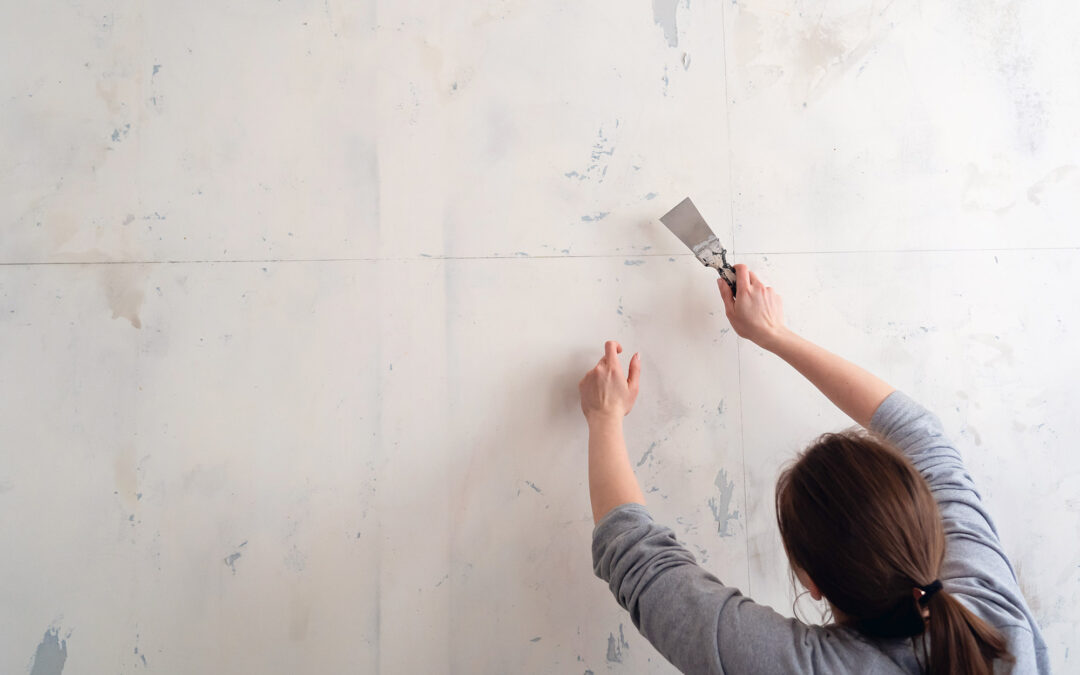
You may find that there are some imperfections – scarring, pitting, cracks, etc. – on the wall that the wallpaper removal caused (or that the wallpaper had been hiding). Now is the perfect time to repair those. Use the joint compound and putty knife for this task, using the knife for the application, smoothing and removal of excess putty.
And here’s a pro tip from our Asheville painters: If the walls have more than just a few imperfections, it may be smarter to use a skimming technique. This is done by thinning out the joint compound with water and applying it over a larger area with a paint roller. Repeat as necessary, allowing each layer to dry before beginning the next.
Sand the New Surface
Once all the dents and scratches are filled, it’s time to sand over the areas you filled. This creates a smooth, continuous surface that you will be admiring for years to come after the final coat of paint is applied. When sanding, be sure to consider the following:
- Use 120-grit sandpaper
- For larger areas, consider using a pole sander so you can reach easier
- Mask up!
- Change out the sandpaper as soon as you notice it becoming clogged with dust
- Use the wet-dry vac once you are done sanding so that all loose dust is removed from the trim and walls
- Wipe surface clean with a mixture of warm water and dish soap and allow to dry before moving on to the final steps.
If at any point you begin to realize that this project goes beyond your time, resources or abilities, we encourage you to give us a call. Not only do we offer wallpaper removal services, but we can also take care of all the steps before and after, leaving you with a perfectly finished room to enjoy.
Prime & Paint
Finally – it’s time for the fun part! Get your paintbrush and rollers out and get busy finalizing that beautiful new look. Be sure to choose a high-quality primer and paint. For interior work, we love to use Benjamin Moore products. We highly recommend the Sure Seal Latex Primer Sealer because of its strong adhesion and stain-block technology.
Interior Painting in Asheville NC
D.A.B. Painting is a full-service painting company offering painting services in Buncombe County & the surrounding Western North Carolina areas. Our experience allows us to provide a superior finish, with a focus on prep work and professional applications using quality products. The attention to detail is evident in all of our projects—small or large. Get in touch today and allow us to help with all of your residential or commercial painting needs.


